
Plex是Plex,Inc.制造的全球流媒体服务和客户端服务器媒体播放器平台。PlexMedia Server整理用户收藏和在线服务中的视频,音频和照片,并将其流式传输到播放器。尽管提供多种媒体服务, 我这里的需求只是流媒体播放我的本地音乐集还有R音声作品而已,所以关于后面的媒体配置相关都是关于音乐 的, 使用 Docker 和 linuxserver 提供的 镜像 搭建Plex Server非常简单
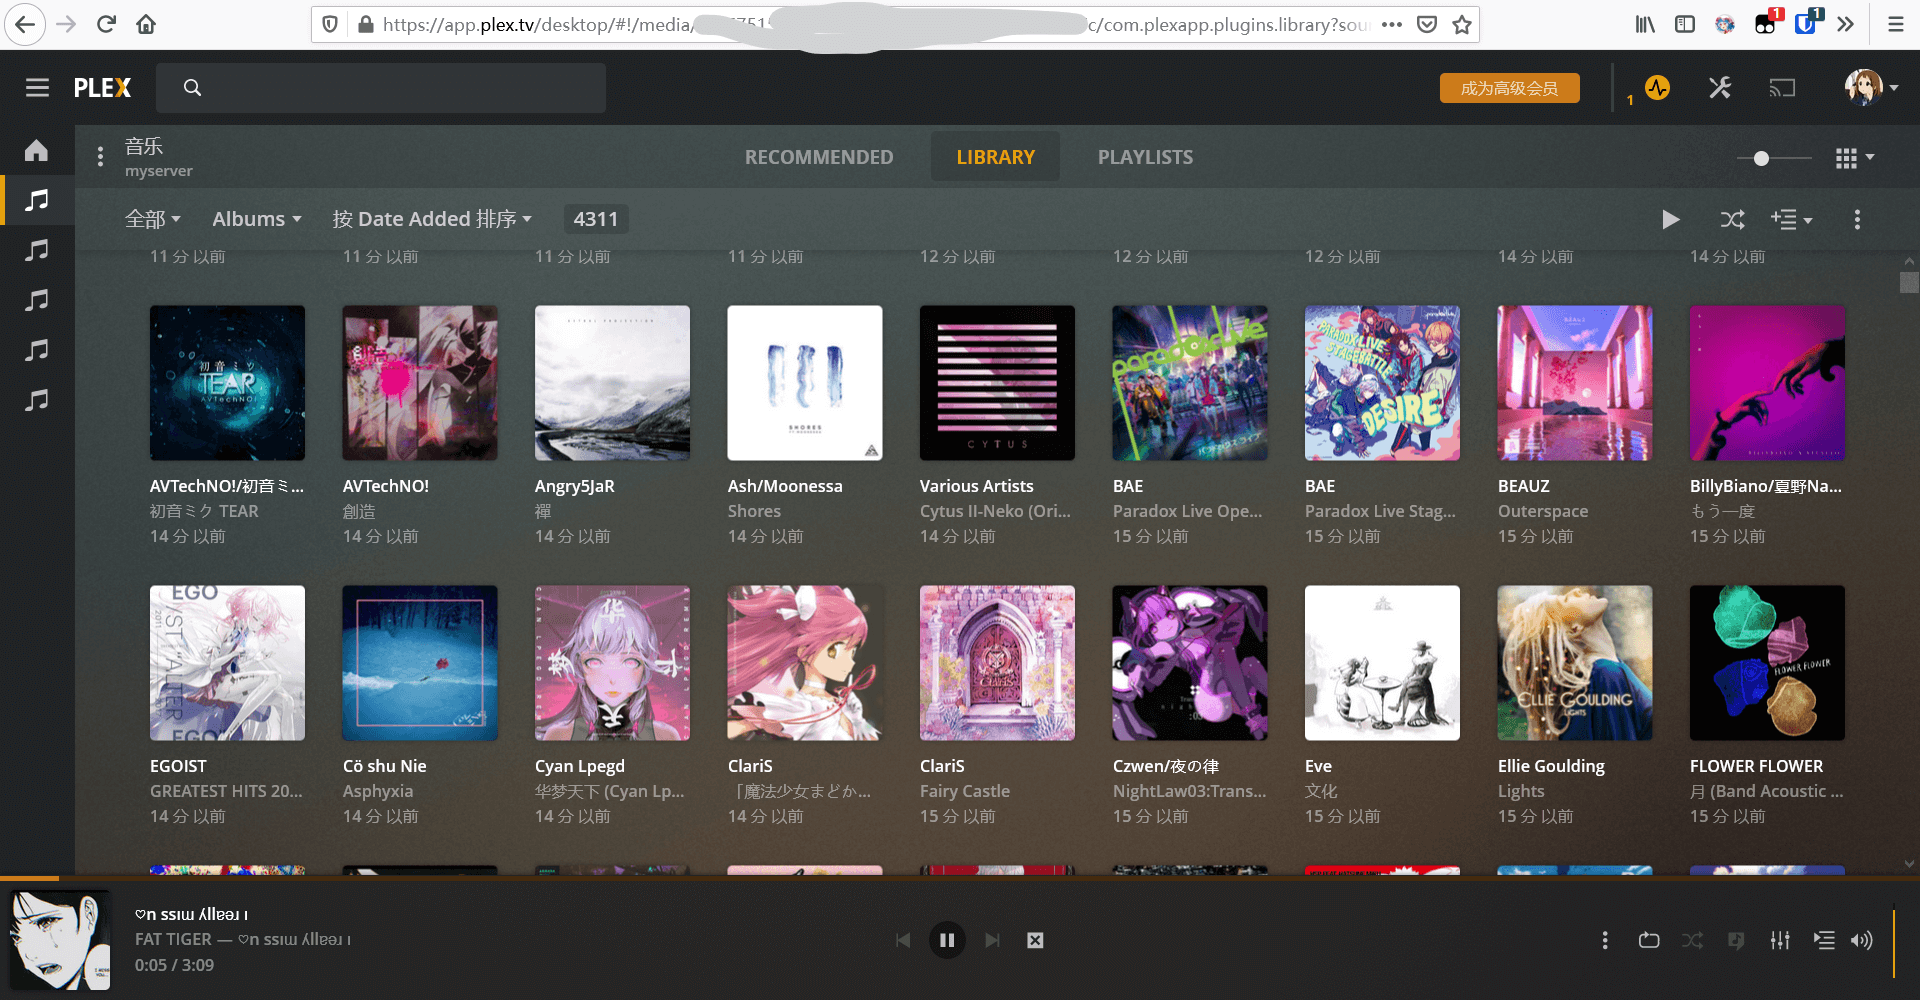
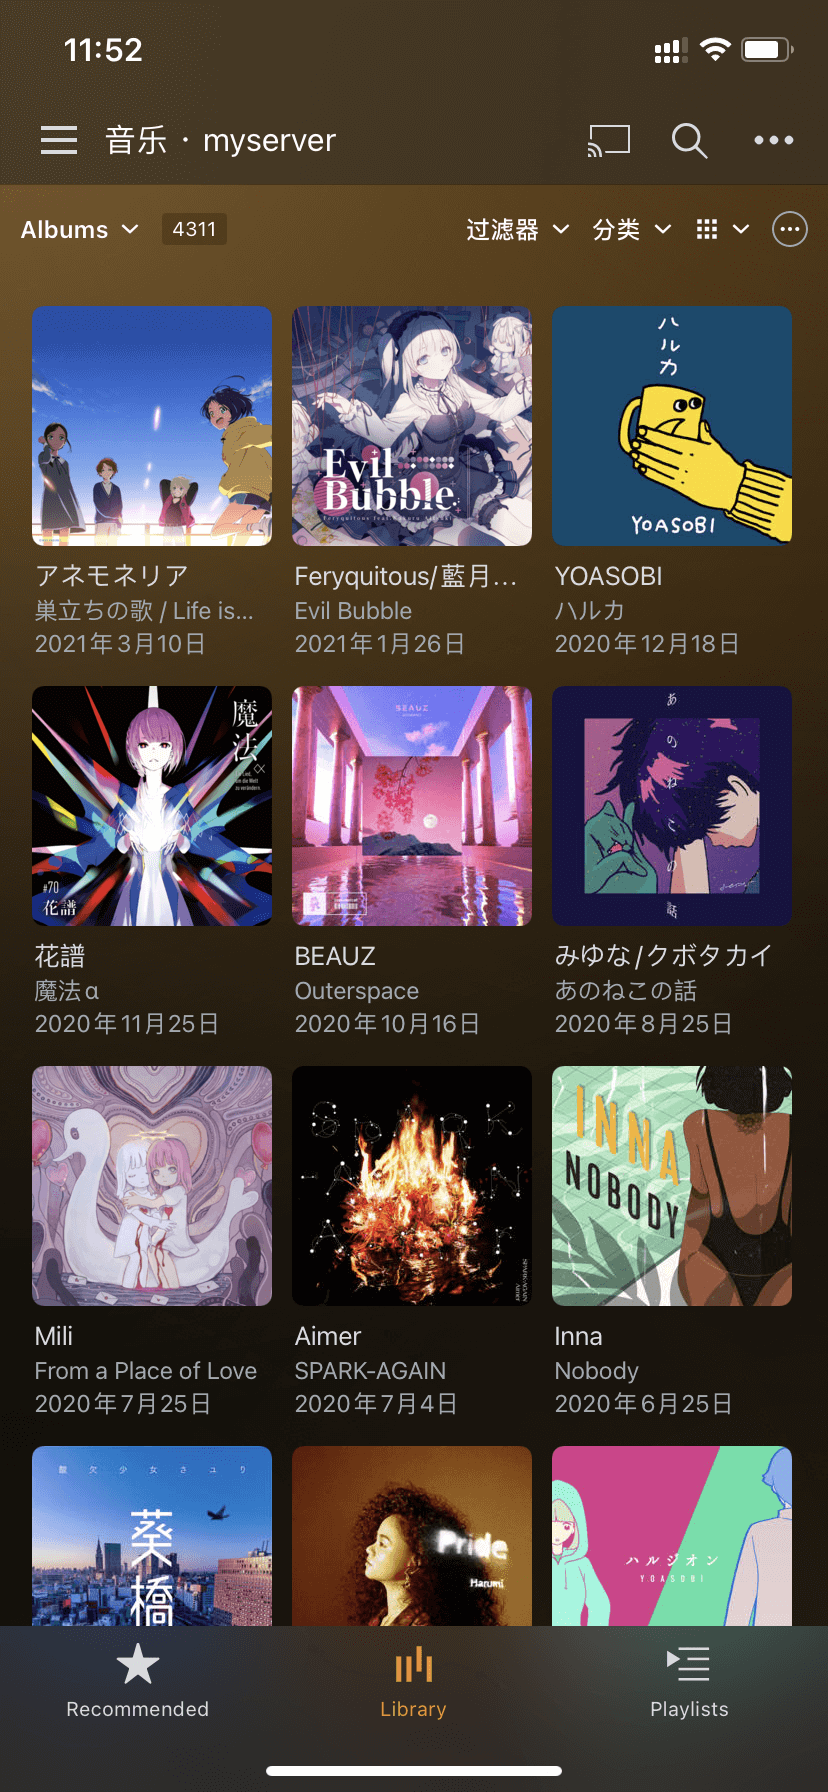
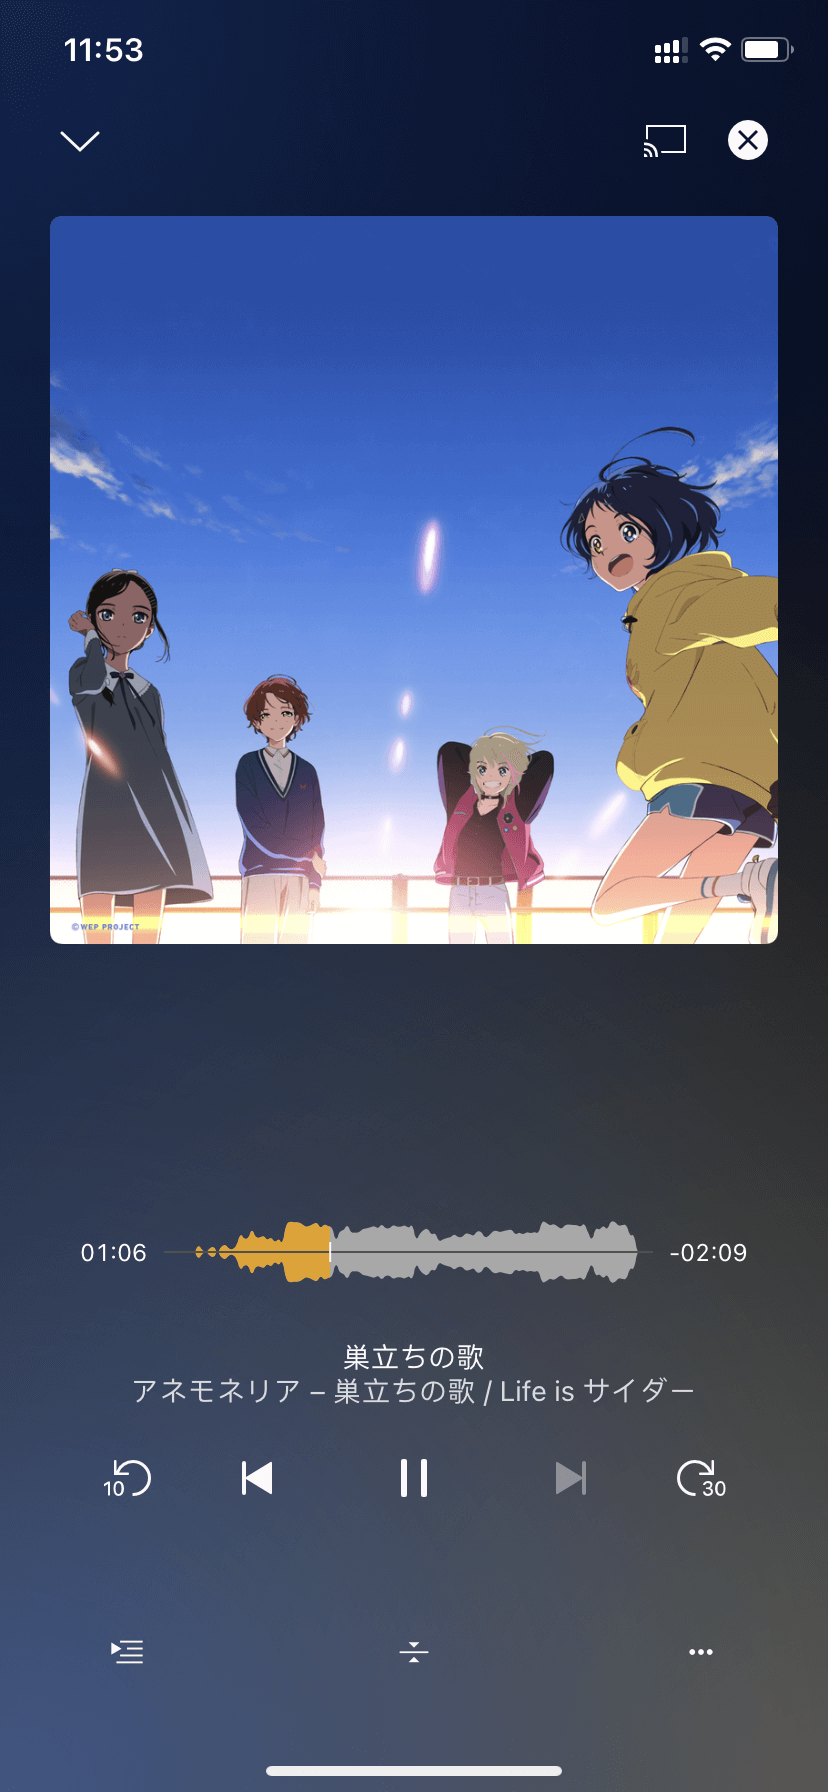
部分截图:
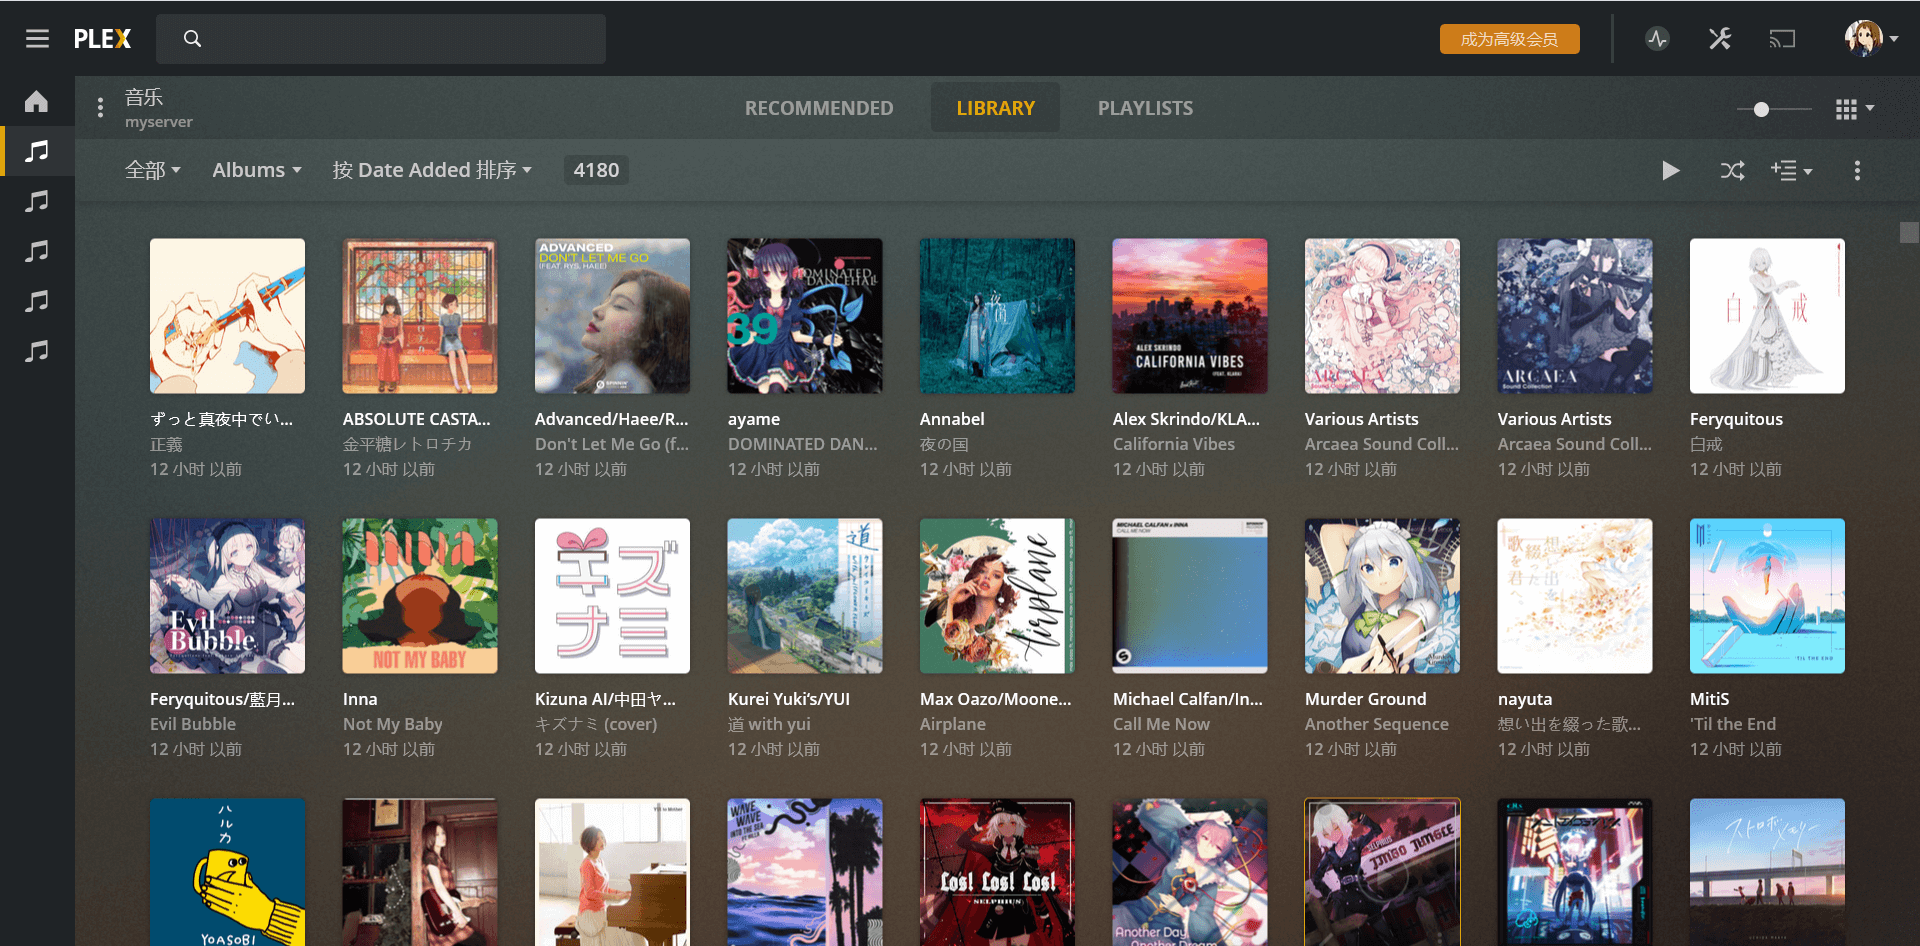
Music Library
Music Album
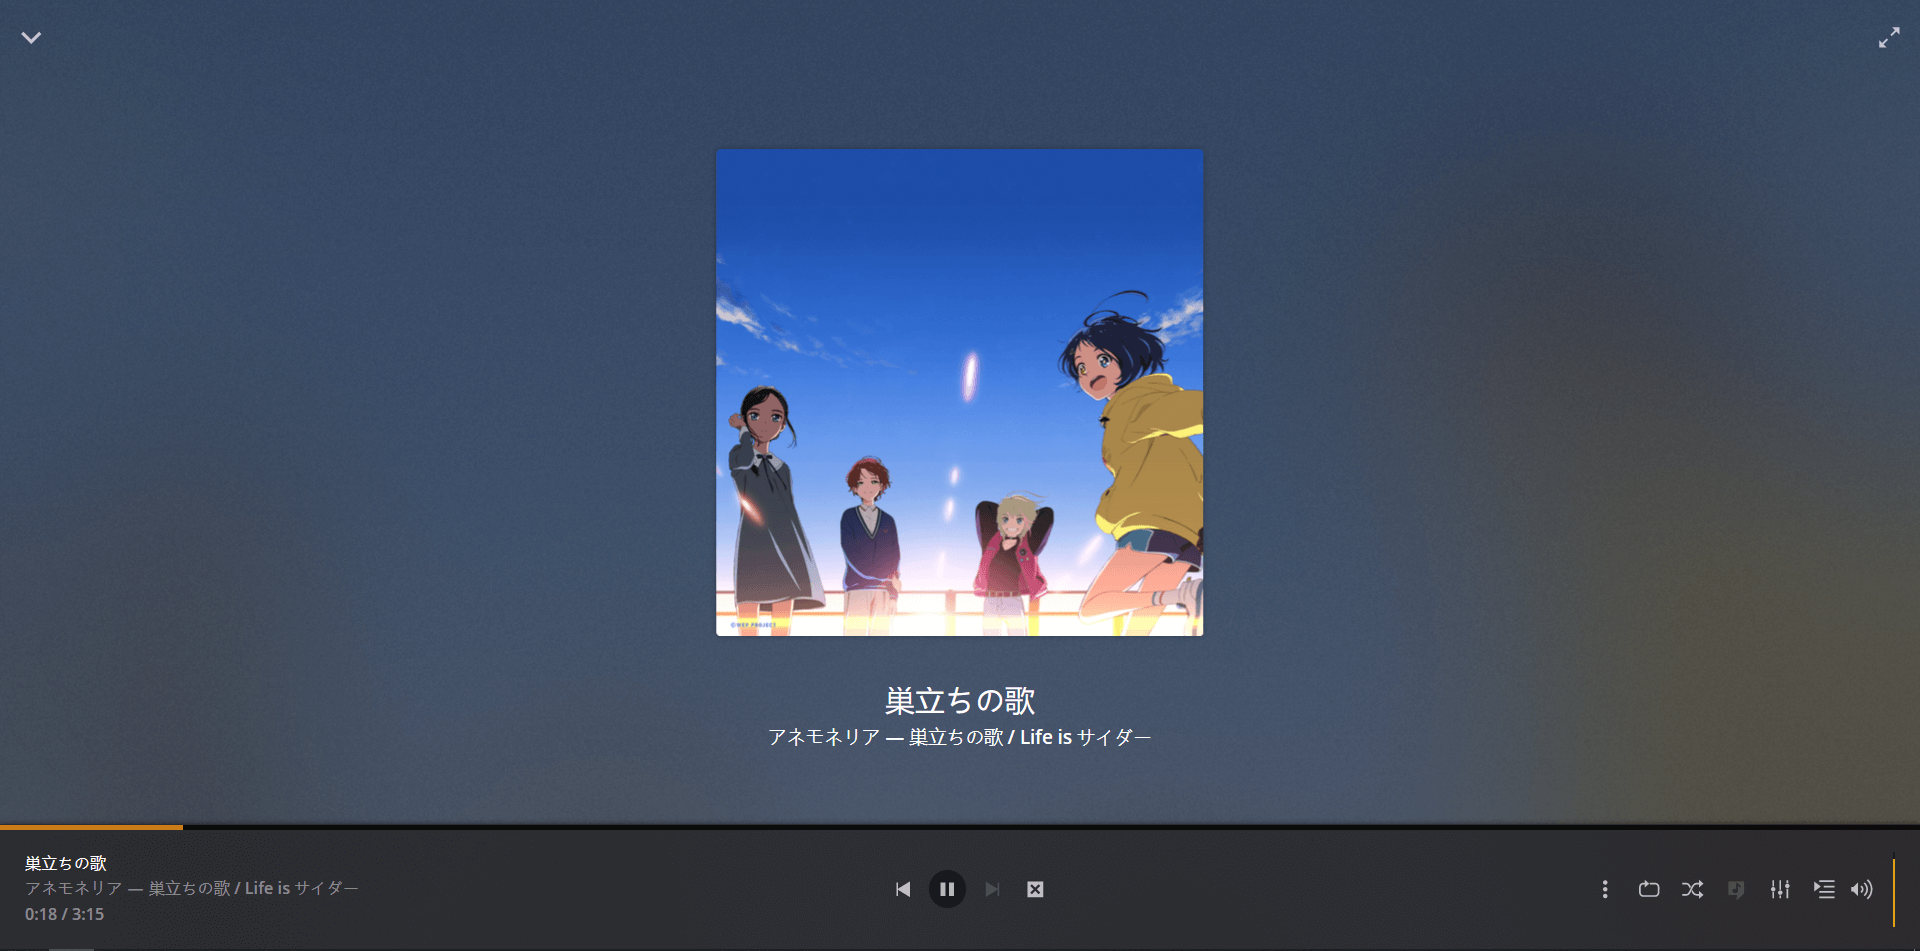
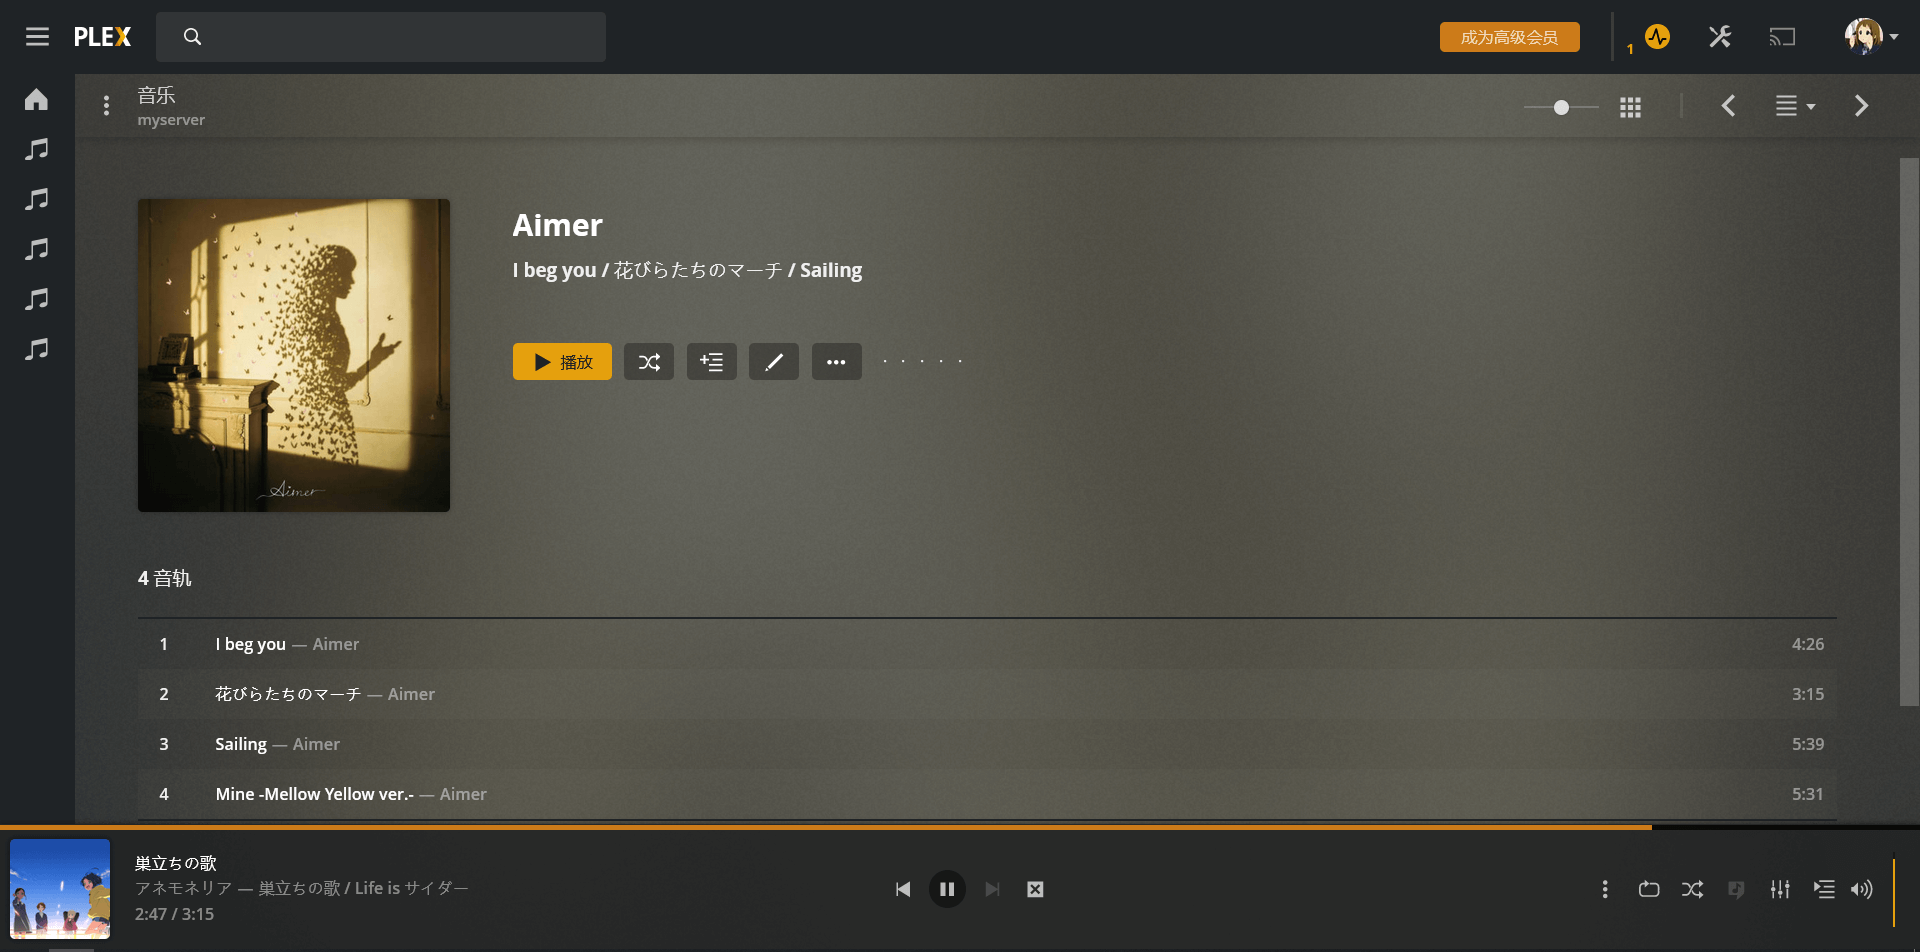
Playing Music
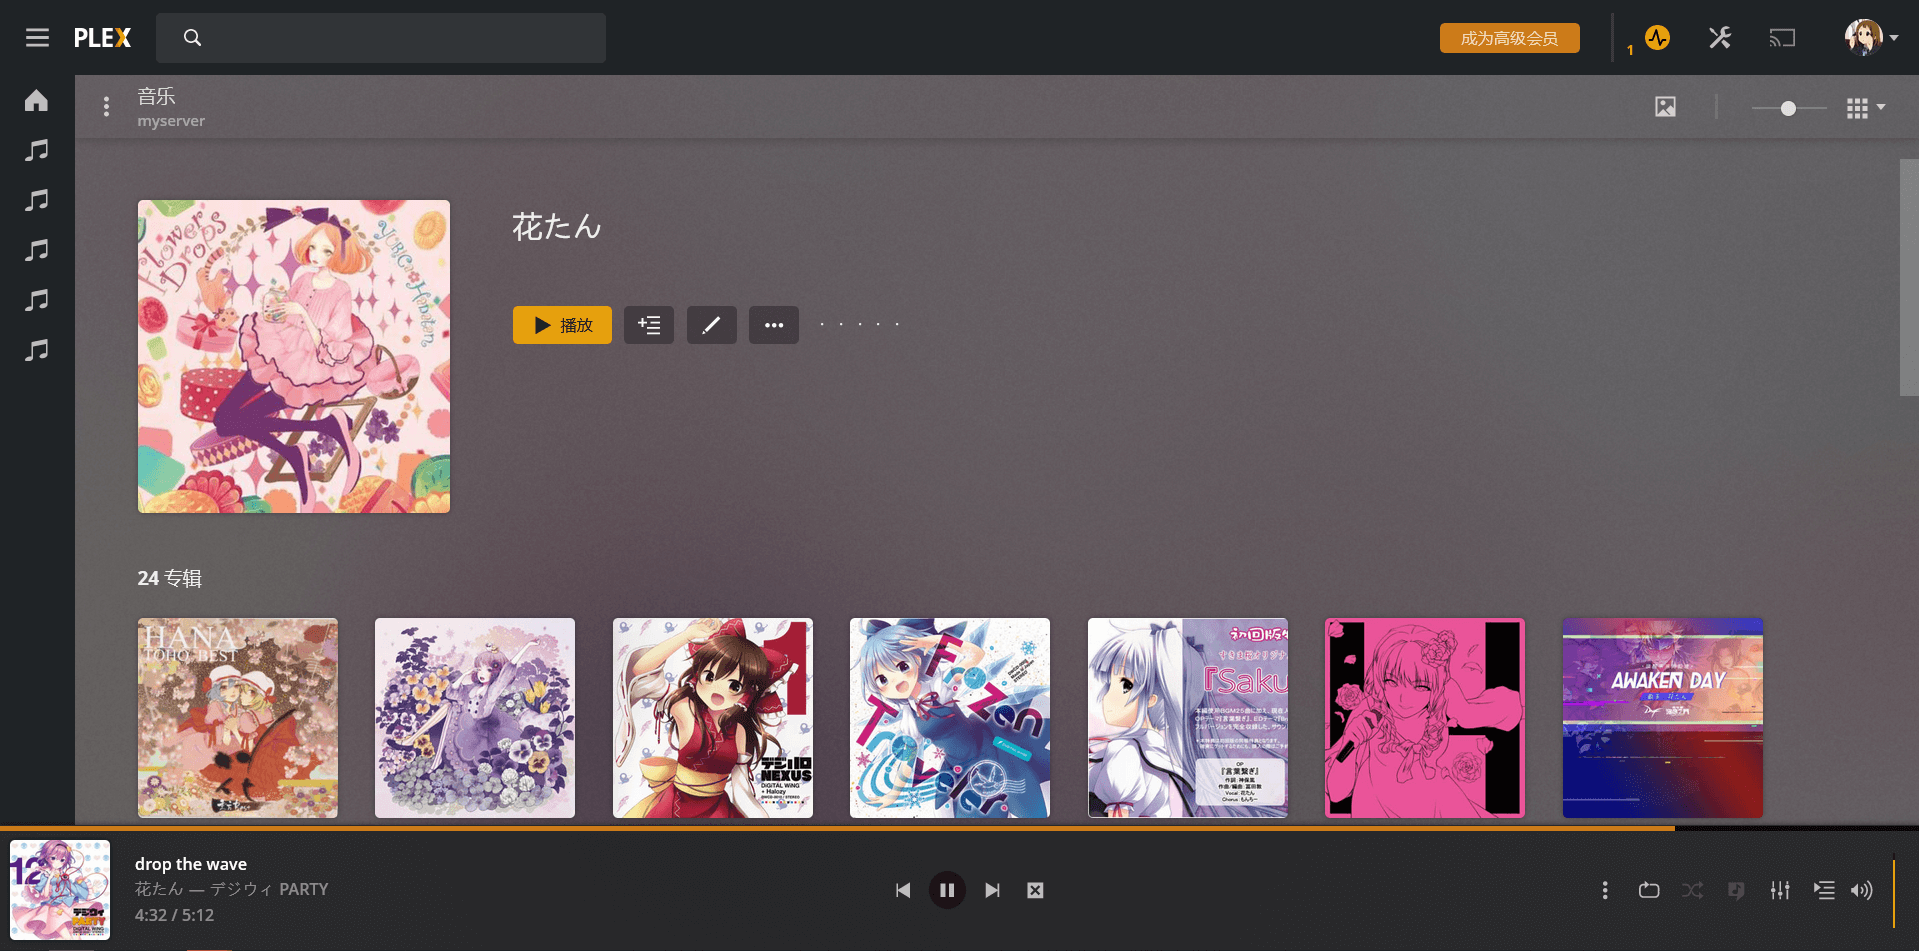
Music Artist
相比与同类型的开源选择Jellyfin, 界面更加漂亮,依赖于大公司的技术使用体验也更加好,接下来我们将要使用 Docker 搭建自己的服务
你需要准备的东西有
- NAS设备(树莓派4B即可) + 公网IP/内网穿透 / 土豪直接买云服务器
- 了解
docker和docker-compose工具,命令配置的基本使用
搭建Plex Server
新建文件夹plex, 创建docker-compose.yml
BASH
| 1 2 | mkdir plex && cd plex touch docker-compose.yml |
写入下面的配置
YML
| 1 2 3 4 5 6 7 8 9 10 11 12 13 14 15 16 17 18 19 20 | version: “2.1” services: plex: image: linuxserver/plex container_name: plex environment: – PUID=1000 – PGID=1000 – VERSION=docker – PLEX_CLAIM=your-claim volumes: – ./config:/config – /path/to/your/music/library:/musics:ro restart: unless-stopped mem_limit: 700m memswap_limit: 2000m devices: – /dev/dri:/dev/dri #optional ports: – 32400:32400 |
需要注意的几点:
PUID和PGID用于配置容器内进程的UID和GID, 全都设置为0表示以root用户运行,如果你这里不是很明白的话可以无脑设置为0以避免部分权限问题mem_limit和memswap_limit属于可选项, 如果你(我)使用 2GB 内存的树莓派你可能会担心超出内存而出现的问题(一般出现在扫描媒体时, 日常占用并不大, 2GB内存足矣),如果你的内存充足的话,完全可以忽略这两个配置项PLEX_CLAIM环境变量用于认证自己的服务器,也是可选, 你可以从 这里 获取(注意需要可用的plex账号), 另外claim的有效期一般只有 4 分钟 ,如果服务器网络不佳,建议先通过执行docker-compose pull拉取镜像之后再获取,防止过期(虽说过期后再重新claim也行)/path/to/your/music/library:/musics:ro将自己本地的音乐库映射到plex container的/musics目录, 并且只读(ro即read only),你可以将自己用nextcloud或syncthing同步过来的曲目映射到这里
执行docker-compose up然后静待服务器启动完成, 启动完成后可以访问ip:32400/web进入web界面
检查你的远程访问有没有正确开启, 成功的示例如下

由于我端口映射并非标准的32400端口, 所以这里手动指定了一下自己的端口
如果已经成功了的话, 你就可以在plex官网看到自己的 server 了, 接下来你可以按照提示设置自己的媒体库, 至于音乐库相关的高级选项可以参考下面的解释
移动端示例截图
音乐相关高级配置解释
扫描器和代理这两个选项不用考虑, 默认就行, 其中Plex Music是最近几个版本更新的扫描器, 性能更好,扫描速度明显快于旧的Plex Music Scanner

从网易云下载的曲子一般会自带正确的ID3tag, 我们这里可以直接选中Prefer local metadata , 让扫描器优先使用自带的tag.
Artist Bios 歌手信息。推荐保持选中, 我这里没有选中是因为我歌单里面太多冷门优秀歌手/作曲比如 Acyanxi, plex拉取不到这些歌手/作曲的信息,导致后面只有一小部分歌手有封面而多数都没有, 强迫症的我直接把这个选项给关了。
Album Reviews and Critic Ratings , Popular Tracks 和Concerts 歌曲评价相关,热门曲目和演唱会信息 我个人认为没有必要没有打开, 你可以根据自己的情况选择, 我没有打开, 毕竟热门的并不代表适合自己, 演唱会又不能去(没钱买机票), 我觉得好听的就是最好的, 看xx评价
Genres 注意网易云给的 tag 中的Genres都是空的, 如果你认为音乐风格对你来说有必要可以保持默认的Plex Music选项,虽然并不保证一定能得到
Album Art专辑封面, 网易云提供了, 所以我直接选择了Local Files Only
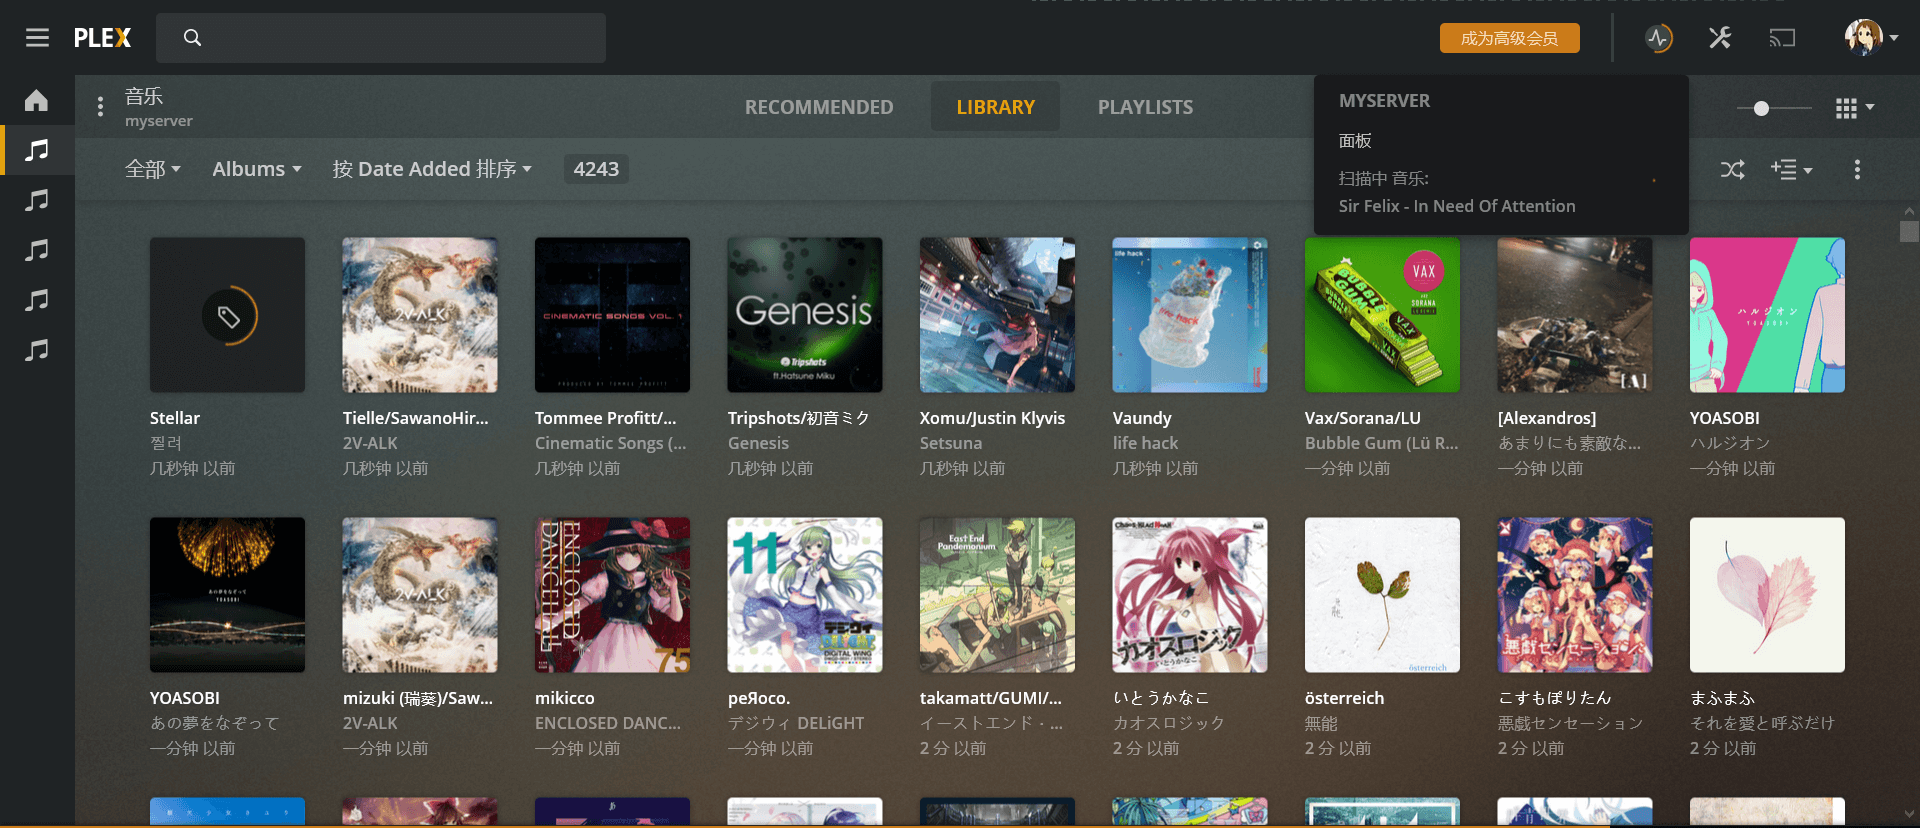
Scanning
自用脚本分享 – 转移本地音乐到Plex
NCM 文件批量解码
PYTHON
| 1 2 3 4 5 6 7 8 9 10 11 12 13 14 15 16 17 18 19 20 | import os from ncmdump import dump from pathlib import Path source_dir = Path(r”F:\Musics\netease”) # 网易云音乐下载根目录 def output_path(input_path: Path, metadata) -> str: return (input_path.parent / (input_path.stem + “.” + metadata[‘format’])).__str__() if __name__ == ‘__main__’: for file in source_dir.iterdir(): if file.name.endswith(‘.ncm’): print(str(file)) dump(file, output_path, skip=True) os.remove(file) |
ncmdump模块来自https://github.com/nondanee/ncmdump, 你可以通过执行下面的命令安装依赖和ncmdump
BASH
| 1 2 | pip install pycryptodome mutagen pip install git+https://github.com/nondanee/ncmdump.git |
删除重复文件
网易云音乐下载的曲目有可能会出现重复下载的情况, 一般情况下重复下载的曲目文件名称有比较明显的特征,例如XX - XXX (1).mp3, 可以通过这个特征删除掉重复的下载的曲目
PYTHON
| 1 2 3 4 5 6 7 8 9 10 11 12 13 14 15 16 | from pathlib import Path import re import os source_dir = Path(r”F:\Musics\netease”) # 网易云音乐下载根目录 target = re.compile(r”^.+\([1-9]\)\.(mp3|ncm)$”) if __name__ == ‘__main__’: for file in source_dir.iterdir(): if not file.name.endswith((“.mp3”, “ncm”)): continue if target.match(file.name): print(file) os.remove(file) |
目录转移(Plex推荐格式)
plex推荐了音乐相关的目录格式为
PLAINTEXT
| 1 | Music/ArtistName/AlbumName/TrackNumber – TrackName.ext |
例如
PLAINTEXT
| 1 2 3 4 5 6 7 8 9 10 11 | /Music /Pink Floyd /Wish You Were Here 01 – Shine On You Crazy Diamond (Parts I-V).m4a 02 – Welcome to the Machine.mp3 03 – Have a Cigar.mp3 /Foo Fighters /One By One /There is Nothing Left to Lose /U2 /Joshua Tree |
如果一首曲子存在多个artists, plex推荐使用 Various Artists作为ArtistName, 搞不清理由,由于我下载的曲目太多是多艺术家创作的, 都放在这样的文件夹里让我感觉很乱,因此并没有遵守这个推荐规则
为了后面新增曲目时能快速找到哪些是新增的曲目, 我这里随便使用了sqlite保存了源文件目录的位置
PYTHON
| 1 2 3 4 5 6 7 8 9 10 11 12 13 14 15 16 17 18 19 20 21 22 23 24 25 26 27 28 29 30 31 32 33 34 35 36 37 38 39 40 41 42 43 44 45 46 47 48 49 50 51 52 53 54 55 56 57 58 59 60 61 62 63 | from pathlib import Path from mutagen.id3 import ID3 import shutil import sqlite3 source_dir = Path(r”F:\Musics\netease”) # 网易云音乐下载根目录 target_dir = Path(r”F:\nextcloud\Musics\NETEASE”) # 想要转移的目的根目录 db_path = ‘music.db’ def safe_name(name: str) -> str: “””this function is awful and if you got a better one, just tell me “”” return name.replace(“/”, “/”).replace(“:”, “:”).replace(“>”, “❯”).replace( “|”, ” “).replace(“<“, “❮”).replace(“\\”, ” “).replace(“?”, “?”).replace( ‘”‘, “‘”).replace(“*”, “*”).strip().strip(‘.’) if __name__ == ‘__main__’: con = sqlite3.connect(db_path) cur = con.cursor() # Create table if not exists cur.execute(”’CREATE TABLE IF NOT EXISTS musics (path text NOT NULL PRIMARY KEY)”’) for source_file in source_dir.iterdir(): if source_file.name.endswith(“.ncm”): continue source_file = source_file.absolute() cur.execute(“SELECT * FROM musics WHERE path = ?”, [str(source_file)]) if cur.fetchone(): # 已经出现在数据库中, 直接跳过 continue metadata = ID3(source_file) artist = source_file.name.split(‘-‘)[0].strip().split(‘,’)[0] try: album = safe_name(metadata.get(“TALB”).text[0]) except AttributeError: print(source_file, “has no album, just skipped”) continue target_file: Path = target_dir / artist / album / source_file.name if target_file.exists(): # Insert a row of data cur.execute(“INSERT INTO musics VALUES (?)”, [str(source_file)]) con.commit() continue if not target_file.parent.exists(): target_file.parent.mkdir(parents=True, exist_ok=True) shutil.copy(source_file, target_file) # Insert a row of data cur.execute(“INSERT INTO musics VALUES (?)”, [str(source_file)]) con.commit() con.close() |
文章作者: Hinata Rin
原创文章,作者:Go,如若转载,请注明出处:https://www.smallogs.com/?p=433